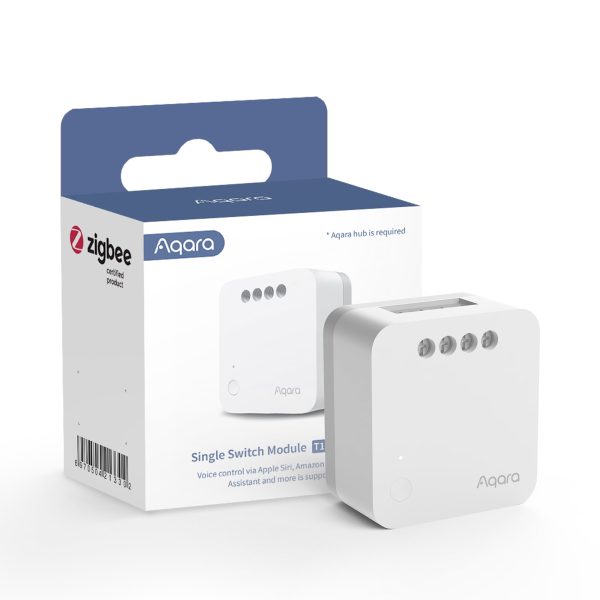
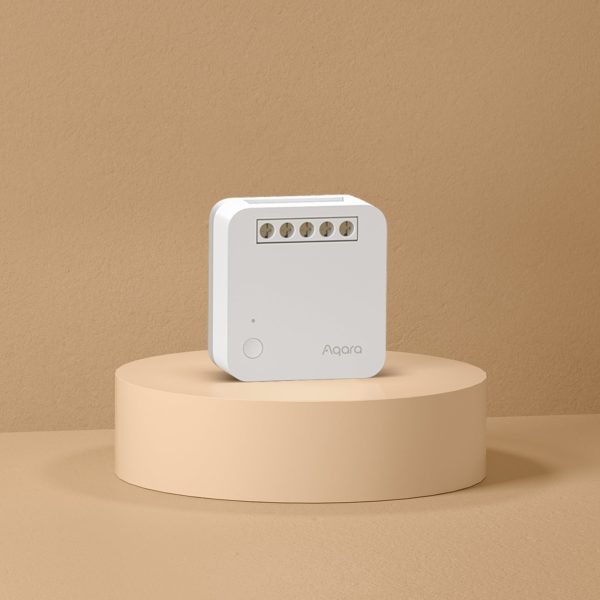
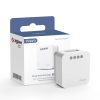
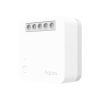
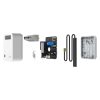
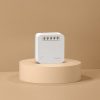
Aqara Single Switch Module T1 (No Neutral)

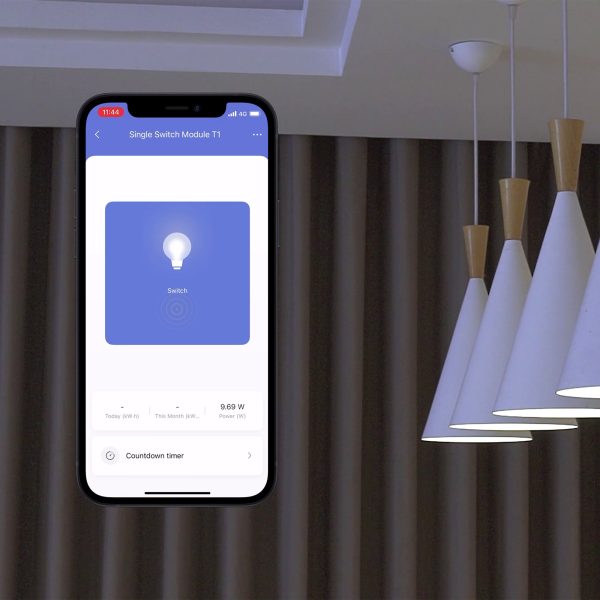
The Aqara Single Switch Module T1 (No Neutral) is based on the secure and robust Zigbee 3.0 wireless protocol*. It can control the on/off status of lights. With the Aqara Hub, it can realise functions such as app remote control and timing control. It can work with other Aqara smart devices to realise more smart scenes. HomeKit compatible when used with Aqara Hubs. Simple DIY smart home system.

£28.52 inc VAT

Accessories
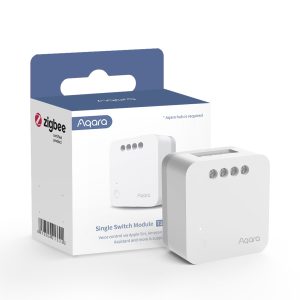
Aqara Single Switch Module T1 (no neutral)
This item: Aqara Single Switch Module T1 (No Neutral)

In stock

-
+
£28.52 inc VAT
£28.52 inc VAT
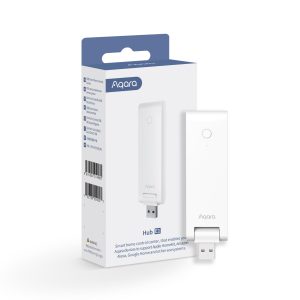
Aqara HUB E1
Aqara Hub E1

In stock

-
+
Original price was: £29.99.Current price is: £26.99. inc VAT
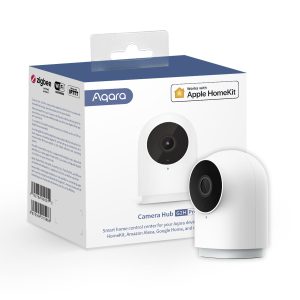
Aqara Camera Hub G2H pro
-
+
Original price was: £69.98.Current price is: £59.48. inc VAT
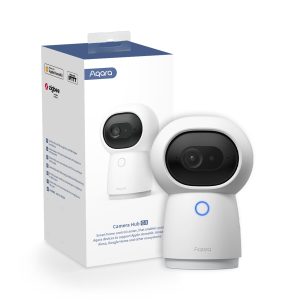
Aqara Camera Hub G3
-
+
Original price was: £99.98.Current price is: £84.98. inc VAT
-
+
£54.98 inc VAT

In stock

Free Shipping for Mainland UK orders over £15 incl. VAT ** (excluding Scottish Highlands)

Compatibility

Aqara Single Switch Module T1 (No Neutral) is compatible with the following systems:
Zigbee CompatibleWorks with Apple HomekitWorks with Siri ShortcutsWorks with AlexaWorks with the Google Assistant

SKU: SSM-U02 Categories: , , Tags: ,

EAN / Barcode: 6970504213302

Description

Small, but powerful single channel relay controller

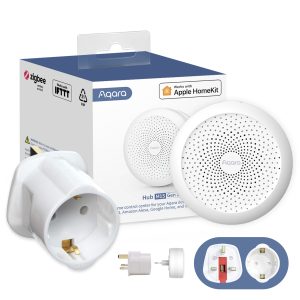
The Aqara Single Switch Module T1 (No Neutral) is based on the secure and robust Zigbee 3.0 wireless protocol. It can control the on/off status of lights. With the Aqara Hub, it can realise functions such as app remote control and timing control. It can work with other Aqara smart devices to realise more smart scenes. HomeKit compatible when used with Aqara Hubs. Simple DIY smart home system. Requires Aqara Hub ( Hub E1, Aqara Hub M2, Aqara Camera Hub G2H Pro, Aqara Camera Hub 3  or Aqara Hub M1S Gen 2.)

Features:

  • No Neutral Wire Required: Even if your wall box doesn’t have a neutral wire, the Aqara Single Switch Module T1 can be installed and used.
  • Zigbee 3.0 Protocol: Enjoy the benefits of the fast, stable, & energy-efficient smart home technology.
  • Choice of Hubs : Hub E1, Aqara Hub M2, Aqara Camera Hub G2H Pro, Aqara Camera Hub 3  or Aqara Hub M1S Gen 2
  • Compact Size: Fits almost any wall box and can be connected to your existing wall switch or outlet.
  • 2-Way Switch Support: Can be connected to your existing 2-way switches & make them smart
  • Power Off Memory: You will be able to configure if you need the lights to turn on automatically after a power outage.
  • Advanced Protection: With overheat protection, you can be sure your home is safe and secure.
  • Timers and Remote Control: Schedule the usage of your electric appliances, check the status, and control them remotely.
  • All-Round Compatibility: Supports most popular voice assistants and ecosystems.

Manuals and Guides

Frequently Asked Questions

Q

Where can Single Switch Module T1(No Neutral) be installed ?

A

It can be installed in the switch cassette or the ceiling or the ceiling light to control the lights; it can also be installed in the cassette of the ordinary wall socket to transform the socket into a smart wall socket; or it can be installed in an exhaust fan, electric water heater and other strong electrical device with enough internal space and qualified structure and suitable electrical performance. You will need a professional and qualified electrician to install this switch module, as the skill level required is high.


Q

What's the difference between Single Switch Module T1 (With Neutral) and Single Switch Module T1 (No Neutral)?

A

Both are relay control modules with the same main functions, however the former needs to be connected with the neutral line and the live line, and the latter only needs to be connected with the live line to supply power. You need to choose the one which best fits with your home wiring and electrics.


Q

How to connect the wiring holes of Single Switch Module T1 (No Neutral)?

A

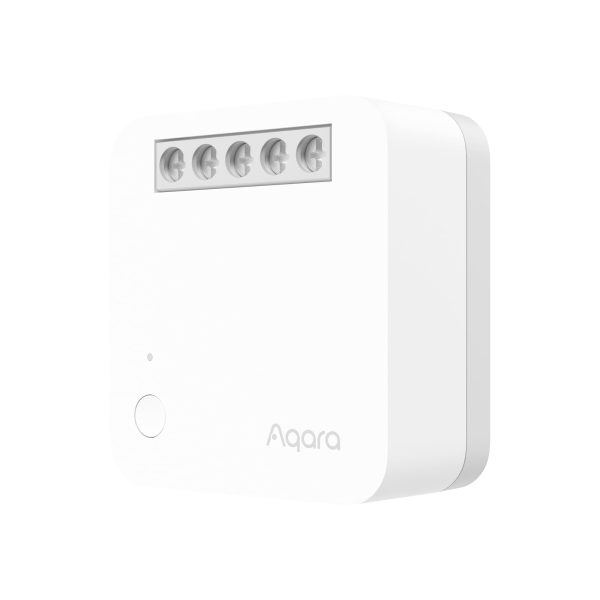
There are 5 wiring holes on the back, which are L, L1, S0, S1 and N. Among them, the live wire connects to L; the lights connect to L1.
There are three connection methods for S0 and S1:

  1. Connect them to the two ends of the external switch respectively;
  2. Connect S0 to one end of the external switch; S1 is idle. The other end is connected to the fire line;
  3. If there is no external switch, you don’t need to connect it. The first two connection methods can realize the control of the Single Switch Module T1 by the external switch.

Q

If the wiring holes are connected incorrectly, will this cause a short circuit?

A

We highly recommend the employment of a professional electrician to install this product, as incorrect wiring can lead to the Single Switch Module T1 burning out or failing to work.


Q

How to handle that there is not enough space in the cassette or device to place Single Switch Module T1?

A
  1. It can be considered to arrange the wires across the cassette and cut the over-length wires in the cassette to a suitable length to get more space.
  2. It can be considered to place it in the ceiling or the ceiling light, but it needs to stay as far away as possible from the Luminous and heating parts of the light.
  3. It can be considered to expand the cassette depth by professionals.

Q

Which types of external switches can Single Switch Module T1 connect?

A

You can connect it with a rocker switch (bistable) or a rebound switch (monostable). After it is connected with the external switch, you need to set it on the app. The default connection is the rocker switch.


Q

How to place the antenna of Single Switch Module T1?

A

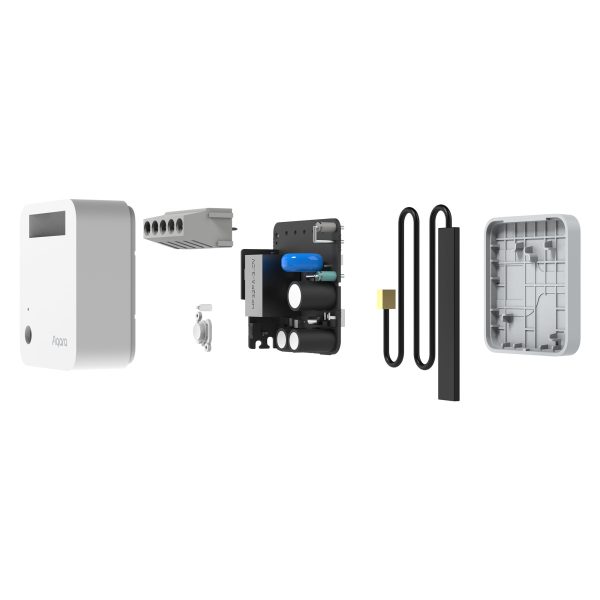
When the control module is installed in the pattress, it is recommended to paste the antenna on the side wall of the plastic cassette and keep it parallel to the wall; if the switch panel bracket is made of plastic, it is best that the antenna is no more than 10mm away from the wall; if the switch panel bracket is made of metal, then it is recommended that the antenna should be more than 15mm away from the wall (metal bracket); in addition, the antenna should be as far away as possible from the main unit of the control module and the AC cable (the recommended distance is more than 15mm).
If it is installed in a metal pattress, it is recommended to install the antenna on the plastic switch panel, but it needs sufficient space on the panel.
If it is installed on the ceiling or inside the light, the antenna should avoid to be pasted on the metal, and also should avoid too much shielding.


Q

How to make Single Switch Module T1 (No Neutral) enter the networking status?

A

There are three ways to enter the networking status:

  1. When the Single Switch Module T1 does not connect to the network, it will automatically enter the networking status after it powers on, and it should maintain the status for 30 seconds;
  2. You can press the button on the Single Switch Module T1 for 8 seconds to enter the networking status, and it should maintain the status for 30 seconds;
  3. It can be powered on and off 5 times through an external switch to make the Single Switch Module T1 enter the networking status, and it should maintain this status for 30 seconds.

Q

How to connect Single Switch Module T1 (No Neutral) to the phone?

A

Single Switch Module T1 (No Neutral) must connect to the compatible hub to carry out functions such as interaction and remote control. After the wiring is completed, please open the app, select “Add Sub Device”, select the corresponding single switch module in the options, and follow the prompts in the app.


Q

What is the maximum effective distance between Single Switch Module T1 (No Neutral) and the hub?

A

The recommended effective distance between the both devices is 7 to 10 meters with a wall between them, which may depend on material and thickness of the wall, and ambient environment conditions. If more walls are between the both devices, we recommend to shorten the distance to improve the connection.


Q

How much power is the light to make Single Switch Module T1 (No Neutral) work normally?

A

There is no minimum load requirement, but the maximum load of the total channels is cannot to exceed 1250W (resistive load).


Q

Does Single Switch Module T1 (No Neutral) support double control or multiple control?

A

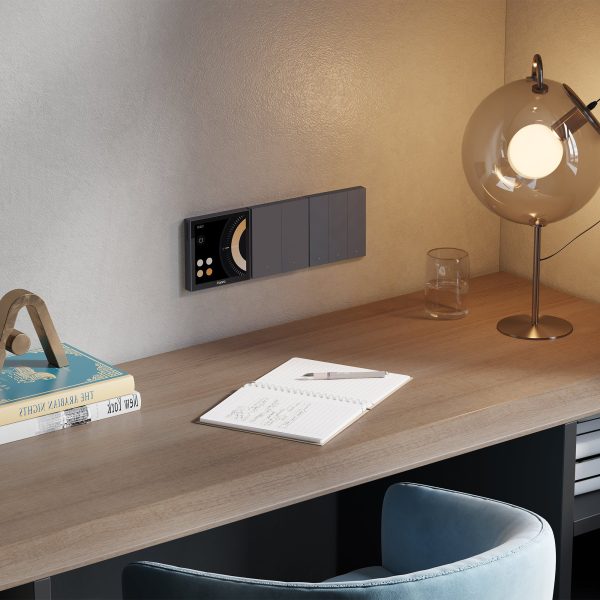
First, by using Single Switch Module T1 (No Neutral) in combination with a wireless switch, it is very easy to realize double control/multiple control. The wireless switch can be placed at most positions in your home to co-ordinately control the Single Switch Module T1 (No Neutral);
If the traditional double-control switch has been installed, Single Switch Module T1 (No Neutral) can be placed in the controlled device or in the cassette near the device . The original switch connects to from the line end of the load wire to S0 wiring hole, S1 is not connected, L1 / L wiring hole is connected normally, and the original double control line can be maintained to realize double control.


Q

What are demensions of Single Switch Module T1 (With Neutral)?

A

L62.00*W60.00*H21.4mm


Videos

Product Specifications

Physical and Performance Attributes

Weight65 grams

Misc Product Attributes

Product Model: SSM-U02

Product Dimensions: 42.9×40×21.4 mm

Product Color: White

Net Weight (kg): 0.04

Gross Weight (kg): 0.05

Input Power: 100-250VAC,50/60Hz, μ

Input Current: MAX 5A (resistive load)

Rated Load: Min 3W, Max 1250W (resistive load), μ This product is only suitable for non-remote-control lights above 3W (typical value)

Wireless Connection: Zigbee 3.0

Wireless Standard: IEEE 802.15.4

Wireless Frequency: 2.4 GHz (2400~2483.5MHz)

Receiver Sensitivity: -98 dBm

Effective Communication Distance: 30m (indoors)

Operating Temperature: 0°C~ 35°C

Operating Humidity: 5% ~ 95% RH, non-condensing

Storage Temperature: -10°C~ 50°C